 I've been sewing various crafts, curtains, pillows, kid's clothes, and Halloween Costumes through the years, but never a full-size quilt.
 Recently I did a Camper Remodel and wanted to use the leftover fabrics from reupholstering the cushions and sewing new curtains in the camper to make a camper quilt to match.
One of the easiest quilts to make and one of my favorites is a patchwork-style quilt.
Patchwork is simply sewing pieces of fabric together to form a pattern or blocks that when all together form a quilt top. When the quilt top is finished, it's then quilted, meaning the top, the batting, and the back cover are sewn together.
 |
| Fabrics I used in a camper remodel were used for a patchwork quilt |
When deciding on what pattern or style of quilts to make as my first, I took a look at my quilt collection. Of all the quilts I have, patchwork is my favorite it seems, and the one I have the most of.
Many generations ago, the first quilt project for young girls to learn was the Patchwork quilt.
Originally this style of quilt pattern was used to make full use of left over scraps of fabric or worn out clothing.
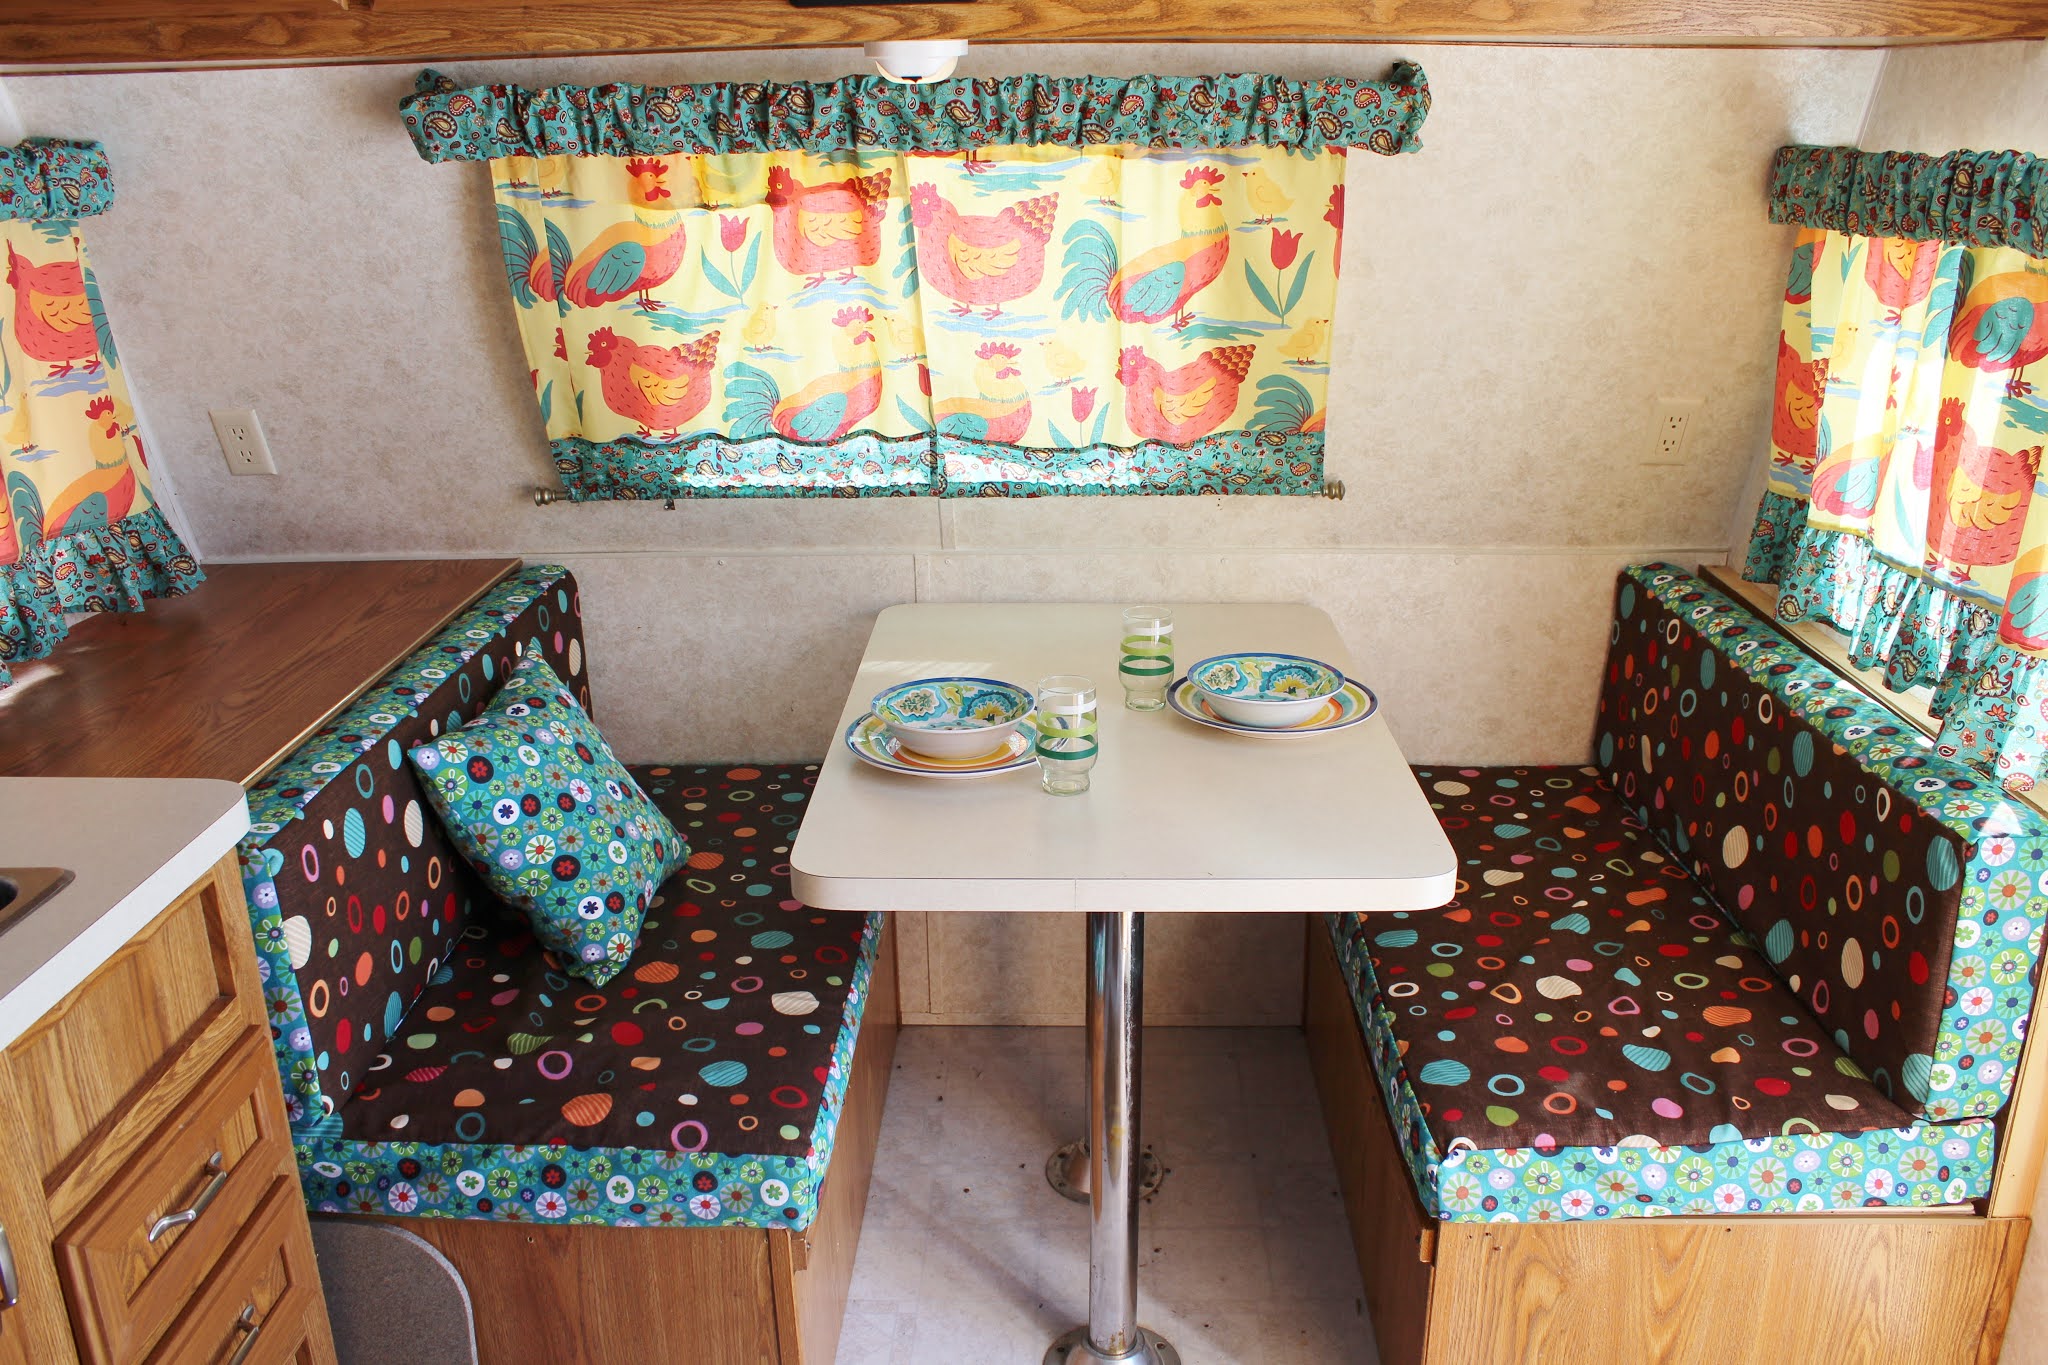 |
| My remodeled little camper. This was a vintage camper and our first. |
"In the 100 years between 1750 and 1850 thousands of quilts were pieced and patched, and many of them are preserved. Many of these quilts were so elaborate that years were spent making and quilting them. It is no wonder they are cherished as precious heirlooms and occupy honored places in homes and museums. Those early quilts provide a glimpse into the history of quilting as well as the history of the United States." ~ The History of Quilts
You can sew patchwork pieces by hand or by machine. I chose to sew mine by machine.
The fun of patchwork is you can also recycle old clothes, use odds and ends of leftover fabric from another project or use pre-cut fat quarters.
Cotton is a great fabric to use because it washes and wears well, but any fabrics are usable in a patchwork quilt!
 |
| Fabric cut into 6-inch squares |
My husband wanted bright colors used in the remodeling of our camper so I used all the leftover fabric from that project.
The first step is to decide on the size of the quilt you want to make and start collecting the fabric and supplies. I made my first patchwork quilt a 60-inch x 90 inch.
For supplies, the best thing I have purchased for quilt making is a cutting mat, a straight edge ruler, and a rotary cutter.
 |
| When cutting squares make sure to add extra for 1/4 inch seam allowance. |
I started out measuring and cutting each square by hand and gosh does that took so much time!
I happen to run into a woman (an angel really) in the fabric store who gave me the tip on the mat and cutter. What a time saver!
Next cut out the size squares you want. I chose 6-inch squares.
Remember that you need a quarter-inch seam around each side of the squares, so to finish with a 6 inch square, you will need to cut out 6 ½ inches square.
 |
| 6-inch squares sewn together |
After cutting, I first laid out the rows to form the quilt, then stacked them by rows in the order of sewing. I sewed each stack of squares together in a row to reach the width I wanted. 6 inch squares times 10 squares makes the quilt 60 inches wide.
I then sewed the rows together to get the length.
It is very important to make sure all the seams are lined up when sewing the rows together.
It is very important to make sure all the seams are lined up when sewing the rows together.

Remember to press the seams as you go. Ironing the seams will help the quilt lay flat when sewing it all together. I have read various ways to press seams. For my first I pressed them open. I have since read a logical reason (logic is what I need) to press them to the side instead: Pressing each seam to the side protects the seams and makes them stronger. So that is what I will do on all future quilts.
 |
| The finished quilt with Pumpkin Seed stitch and a 3-inch border |
For finishing, you need to sew together the quilt top, the middle batting (what makes it warm), and the backing, and then add binding around the edges. On my quilt, I also decided to add a 3-inch border.
The finishing work can be done by hand or machine.
The finishing work can be done by hand or machine.
 |
| Front and back of the quilt. Click on the Camper Remodel link to see where these fabrics were used! |
I decided to have a friend who has a large quilting machine sew my quilt together.
For the top stitch, I chose the “Pumpkin Stitch”, which is a series of overlapping circles that form what looks like pumpkin seeds! Pumpkins and fall are two of my favorite things.
 |
| Pumpkin Seed topstitching is circles that overlap to form the design |
I am very pleased with my finished quilt and we think it looks great in our little camper.


I have since made a twin quilt for my granddaughter using the Disappearing Nice Block and am nearly done with a quilt for my son using the Rail Fence Pattern.
This is addicting!
Elizabeth
Other Posts:
Heidi Britton
ReplyDeletePretty
Thanks!
ReplyDeleteI love your quilt. My favorite fabrics are the one with black background and the one with brown background. And the back side is fantastic too. Very uplifting :) Keep up the good work.
ReplyDeleteThanks so much Mari. Patchwork is my favorite and I had fun making this one.
ReplyDelete